Just so, How do I put text over a picture in Word?
Follow these steps:
- Click the mouse in your text where you want the image to appear.
- Click the Insert tab; in the Illustrations group, click the Pictures button. The Insert Picture dialog box appears.
- Locate the image file on your PC’s storage system.
- Click to select the image.
- Click the Insert button.
Can you glue pictures to wood? A PVA glue can be used to transfer photos to wood. You either follow the mod podge/glue method found above but replace the mod podge with PVA glue using a normal paper and inkjet printer. Or you can use OHP Transparency Sheets instead of paper to print the image on.
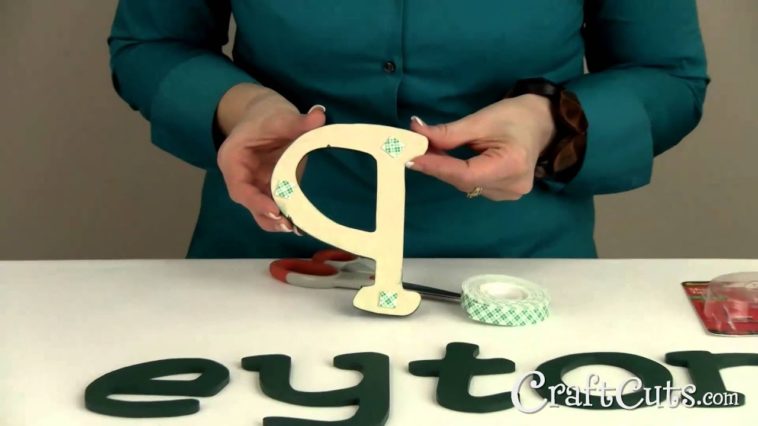
Similarly, How do you glue letters on wood?
How do you Modge podge pictures onto wood?
Paint the wood with mod podge, place the color copy down on it, and let it dry. Then get the paper wet and rub it off, leaving the ink behind. Your photo is magically transferred onto wood with the pretty wood grain showing through. So cool!
How do I fill text with an image color?
Method 1: Go to Drawing Tools > Format > Text Fill > Picture. Choose your graphic from a file on your desktop or from an online source. Method 2: Right-click on the selected text and click on Format Text Effects. Go the first option (Text Fill & Outline) under the Text Options.
What kind of paper do you use to transfer pictures to wood?
Quick Reference Directions:
- Cut sheets of waxed paper to the size of computer paper.
- Print your image onto the waxed paper with any Inkjet printer. …
- Carefully place the image on your wood (wet side down) and then rub over it with a credit card.
- Removed waxed paper and the ink is now transferred to the wood.
What do you use to seal pictures on wood?
Apply 2 to 3 coats of regular Mod Podge.
Be sure to extend the Mod Podge past the edges of the picture and onto the wood itself. This will help seal it in further. Allow the first coat to dry for 15 to 20 minutes before applying the next one.
Can you put Modge podge over pictures?
Well, Mod Podge has the answer! Transferring a photo onto just about any surface such as wood, metal, glass, terra cotta and even fabric is so easy to do using Mod Podge Photo Transfer Medium! Take a look at the photo below, it was transferred onto an inexpensive wood plaque and now is preserved for years to come!
What is the best glue to hold wood together?
The Best Wood Glue for Firm, Reliable Bonds
- Gorilla Wood Glue. This glue comes out on top when considering versatility, ease of use, and cost. …
- Elmer’s Wood Glue. This is an economical and effective option from another reputable glue maker. …
- Glue Masters Thin Instant Glue. …
- J-B Weld Wood Adhesive. …
- Titebond Ultimate Wood Glue.
What is the easiest way to transfer photos to wood?
What kind of Mod Podge should I use for pictures on wood?
If you want the image to be opaque, without the wood grain showing through, you must use Mod Podge Photo Transfer Medium. If you want the image to be translucent with the wood grain showing through, use regular, matte Pod Podge. Print your picture out using a laser printer and regular paper.
How do you do ombre text?
How To Do a Rainbow / Ombre Text Effect on Insta Story?
- Write your text.
- Select All text.
- Hold your right thumb on the purple color.
- Hold your left thumb on the text cursor.
- Slide both fingers at the same time to the left.
- Your letters will change colors.
How do I fill a font in Word?
To add a fill or effect, click your shape, click Format, click the arrow next to Shape Fill or Shape Effects, and select a color, gradient, texture, or effect. Click the shape that you want to fill.
How do I make my background text stand out?
Add a dark overlay on top of your background photo and adjust the opacity. 2. Change the text color to white and duplicate it, so the text looks bolder and stands out. The advantage to this technique is that it is a subtle design change that increases the contrast between the text and the background picture.
How do you transfer words to wood?
What is the best way to transfer a photo to wood?
4 Easy Steps to Transfer a Photo to Wood
- Print out your image or photo. You want to make sure of a few things before you print out your photo/image. …
- Gather your supplies. You’ll need a wood surface. …
- Adhere your photo/image to the wood with Mod Podge. …
- Step 3.5. …
- Rub away the paper with a damp cloth.
What is the easiest way to transfer a design onto wood?
Here’s how easy it is to transfer a design onto wood:
- Print your design. …
- Rub plenty of chalk onto the back of the printed design. …
- Shake the excess chalk off the design. …
- Using a ballpoint pen, trace over the design very firmly. …
- Blow excess chalk off of your sign, then trace over the chalk with an oil paint marker.
Can you varnish photos?
Varnishing a photo onto wood is a simple craft that can be accomplished in a relatively short amount of time. For best results, use a traditional photo rather than a computer print-out, as the inks in print-outs may bleed or smudge.
Will polyurethane ruin a picture?
Polyurethane is highly toxic and should be handled with care. Make sure the lid is properly sealed between coats. … If you’re ready to seal a picture with polyurethane, chances are you’re in the final stages of decoupage – the art of affixing paper to furniture, walls and decorative accessories.
Can I decoupage with glossy photos?
A glossy finish will give your project a shiny or lustrous effect. This is a great option when decoupaging photographs printed on glossy paper. It will not dim the photos, but add to the finish to give a professional look to your project.
Can you decoupage with inkjet images?
Decoupage the image to your chosen surface using a paintbrush. … You can decoupage images printed with an ink jet printer by lightly coating the image with a base coat of white glue mixed with water, and letting it dry before proceeding. Using a water-based varnish will further eliminate any risk of theink bleeding.
Can you transfer a glossy photo to wood?
First, get your wood slice, laser printed photo, Ultra Seal, and craft brush. This is all you’ll need for the first step. Trim your photo to fit onto your wood slice. Remember that the photo will be placed face down if you are transferring it to the wood, so it will be flipped on the wood slice.